
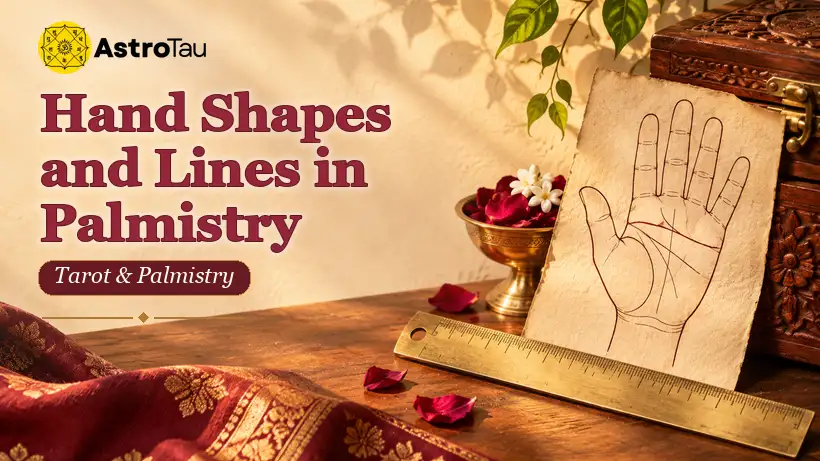
Measure hand shape and trace lines separately
For a photograph, include the whole wrist and fingertips and avoid tilting the hand toward the lens. Compare palm length with width and finger length before giving the shape a traditional label. Then locate the heart, head and life creases independently of the hand category.
Recognizing the symbol or pattern
Hand-shape categories are descriptive conventions in palmistry. Some readers compare the palm and finger lengths before discussing the main creases. Borderline forms can be classified differently by different schools.
A worked observation
Trace the relaxed hand and make a separate sketch of visible creases. Compare the palm length and finger length from the same angle. Record which shape features are easy to see and which fall between two categories. Note where the fingers join the palm and compare the hand from the same viewing angle. A tracing is useful for remembering the proportions. Describe similarities between hands before applying the names from a particular palmistry system.
Photograph the hand with the wrist and all fingertips visible. Note whether the fingers look relatively long against palm length and whether the palm is broad or narrow when seen straight on. Then trace the main heart, head and life creases separately from the shape description. If a palmistry guide groups hands into elemental categories, compare how it defines each category. A tilted camera can alter the perceived proportions. Using the same angle for both hands helps you tell a genuine difference in proportions from an effect of the photograph.
Limits of the interpretation
A description of the shape or a crease can be compared across drawings. An interpretation of personality belongs to the particular reading system and should remain separate from the observation.
A second example
Draw the outline of the hand with the wrist and fingers relaxed. Compare the length of the middle finger with the palm, and mark the points you used for the measurement. Take another view from the same angle before deciding whether the shape fits a category. Write the most visible creases in a separate list. A shape category and a line description are different observations, so keep them separate when comparing two palmistry books.
Use consistent observation conditions
Rest the hand in a comfortable position under a steady light. Record the side of the hand and the position of the mark relative to nearby major creases. A small sketch can be easier to compare than a photograph taken from an angle. Make the first record before reading an interpretation. First compare the relative length and width of the hand. Next note the fingers and how their proportions change when the camera angle shifts. Finally trace the major creases using a photograph taken with the palm relaxed. A traditional hand-shape label may combine the first two observations, while a line interpretation begins with the third. Write the observations before assigning labels. If you compare two descriptions, ask which feature each writer prioritizes and whether their diagrams use the same angle. This helps explain why a hand can appear to fit different categories.
Describe changes in visibility
Compare the same area from a second angle or with the hand relaxed again. A mark may be clearer when the skin is stretched. If you compare both hands, give each its own sketch and do not move a line from one drawing to the other because they look similar. Keep unclear marks labeled as uncertain.
Identify the reading convention
Different palmistry diagrams can divide the same area differently. Note the name of the convention and which physical feature led you to use it. The drawing is your observation and the interpretation is an additional layer. Keeping those separate makes it easier to discuss a disagreement about the pattern.
Observe shape and crease under different conditions
Take a straight photograph of each hand with fingers relaxed and the wrist visible. Tilting the palm toward the lens can make the fingers look longer. Use the images to describe relative proportions and then look at crease paths independently. Compare the descriptions before choosing a traditional hand-shape label. A palm may fit two descriptions reasonably well. Note which features support each option and where you are uncertain so you can follow a later reading without assuming all readers would classify the shape the same way.
Common questions
Should I compare both hands?
You can draw both under the same conditions. State which hand your chosen tradition interprets before comparing meanings.
How can I use the interpretation?
Use it to identify a question worth reflecting on. The scene or symbol alone cannot establish an event or another person’s private thoughts.
KEEP EXPLORING
AstroTau Journal
Continue exploring this topic with AstroTau.
Explore AstroTau Journal ↗